Costumes for Cosplay – My Hero Academia
This week the focus of the costume challenge was cosplay and anime.
A quick history lesson if you aren’t sure what either of those are. Anime is the term for animation created in Japan, there are tons of genres of anime (from fantasy to sports to everyday life) and span from animes for kids to anime for adults and everything in between. You probably have seen anime even if you aren’t familiar with the term because animes like Pokemon, Sailor Moon, and Yu Gi Oh are pretty widely known. Cosplay is a mashup of the words “costume” and “role play” is the term used for making and wearing costumes at conventions worldwide, whether it is a genre inclusive convention like San Diego Comic Con or a local anime convention like CharlestonCon, which is this weekend, right here in Charleston! The main difference between just wearing a costume and cosplaying is that cosplayers tend to not only bring the look of the character into the costume, but a lot of times like to pay homage to the character by interacting in character at these events. Cosplay has expanded over the years from just anime characters to western media as well (everything from Star Trek to Disney to My Little Pony).
My Hero Academia Costume
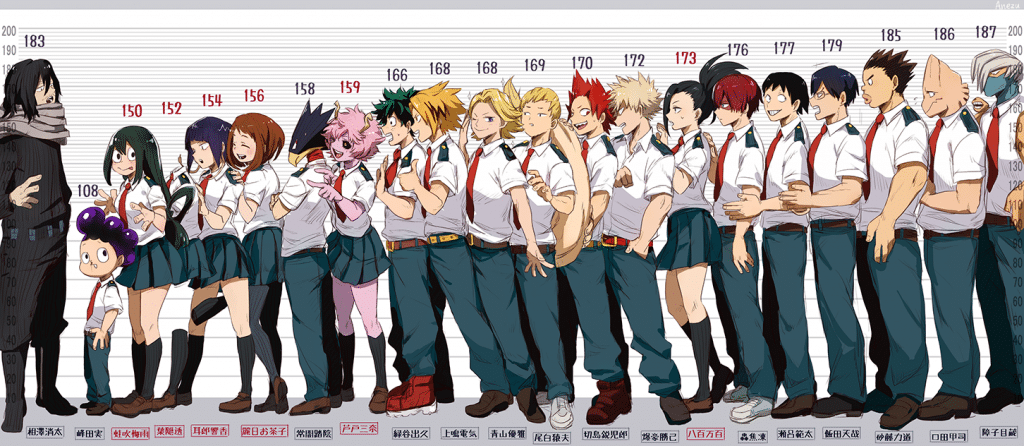
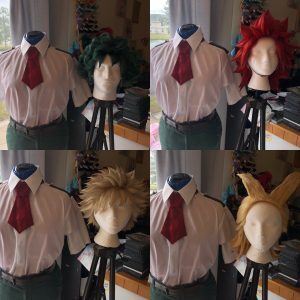
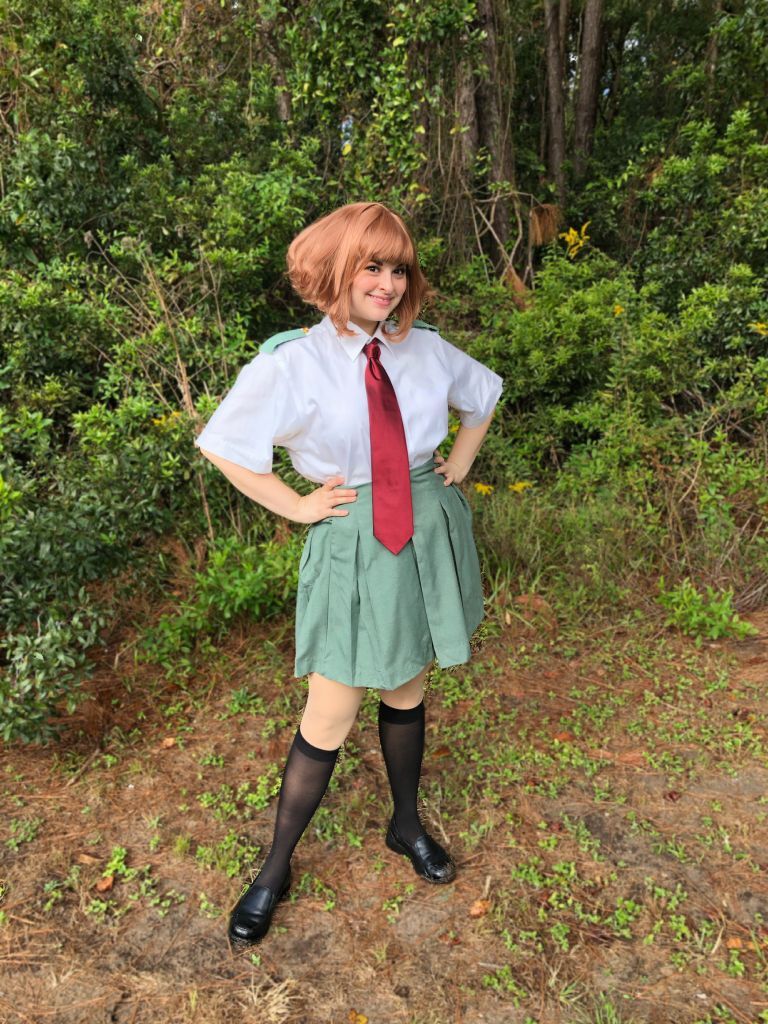
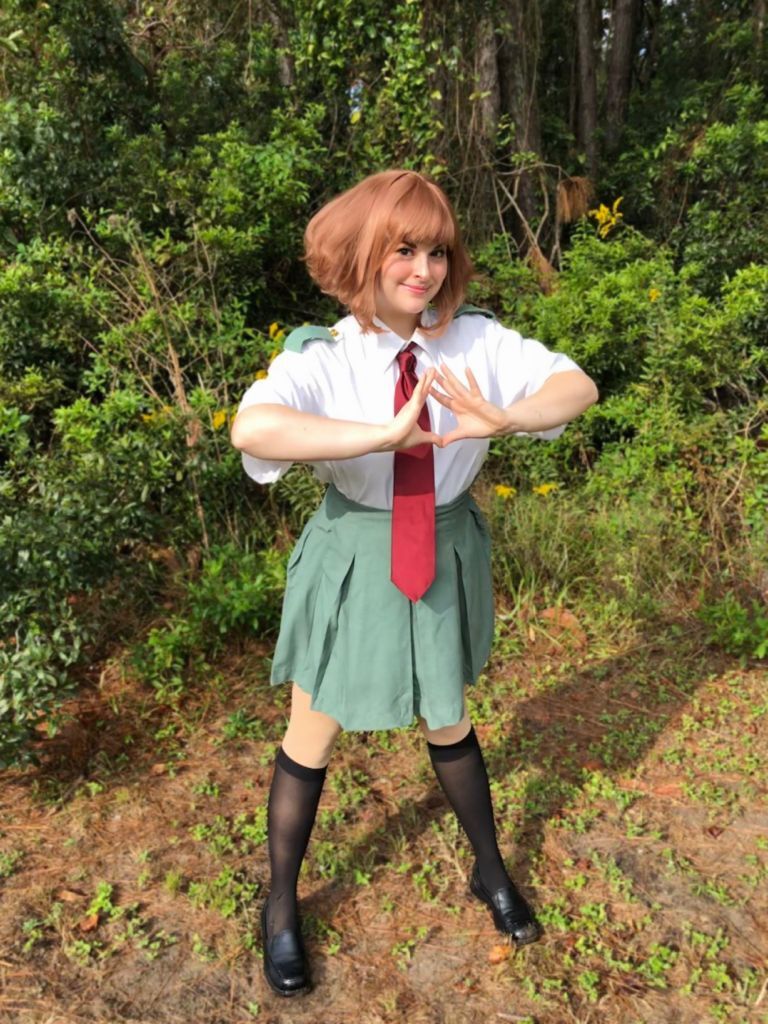
For the anime I chose to make the summer school uniforms from the anime My Hero Academia (or Boku no Hero Academia). These costumes are pretty easy to thrift and alter into screen accurate costumes from the show. For your costume you will need a short sleeved white shirt with a collar, a pair of khaki pants or a pleated khaki skirt, a red tie, a belt (for some characters), and a pair of shoes (dependent on the character you choose).

I started by dying my pants to the forest green color they are on the show. I boiled water for the dye (about 3 gallons from my project) and added one cup of vinegar to the boiling water before adding the dye. Since I wasn’t sure of the fabric content of the pants and skirts, I used the Rit Dyemore dyes which work for polyester fabric. A great tip for dying is that when you are dying with cotton or natural fabrics, add a cup of salt or soda ash to the water once it is boiled, but if you are dying polyester or other synthetic fabrics, add a cup of white vinegar. Doing this will ensure the brightest and truest color payout for the dyed fabric.
For the color, I mixed a few colors until I was happy with the color; if you want to dye something a specific color there is a dye chart on the Rit dye website that gives you exact color formula in both their regular dye and in the synthetic dye formulas.

After I was happy with the amount of time the fabric had been dyed for, I rinsed each piece in cold water until the water ran clear. I also put my pieces in the washing machine to make sure all of the dye had come out and to make sure the pieces were ready to wear once I was done. After I finished dying and washing the pants and skirt, I ironed the pleats back into the skirt and ironed the pants to make sure they were wrinkle-free. I chose to seam rip the pocket off of the shirt since the uniform shirts do not have pockets on the show.
I then made the shoulder pieces from the excess fabric I dyed. Since the khakis were slightly different colors, I wasn’t sure what color the fabric would turn exactly once dyed, but I found two colors in my dye lot that were close to identical to the colors the pants and skirt turned. I cut out two rectangles for each shirt, folded them into the exact shape I wanted, ironed them into the shape, and used stitch witchery to ensure they wouldn’t come unfolded.
I then pinned the shoulder pieces in place, hand stitched them on, and added gold buttons to the front piece of the shoulder pieces. The tie I found was the exact color I wanted, although I did end up making a tie for Deku using curtains (who has a shorter tie than anyone else because he doesn’t know how to tie his tie properly). Once you add the shoes, the costume is complete. The great thing about this costume is that you can dye multiple skirts and pants together and have a big group cosplay with very little construction. Since all of the students that go to UA wear the same uniform (most of the teachers on the show also went to UA too in their youth), you can add just about any wig from the show to a costume and have a complete cosplay.


Once completed, all of these costumes will look right at home and any convention but will also make good Halloween costumes for the season! If you choose to come to CharlestonCon this weekend, we want to see your costumes! For more details about CharlestonCon, visit https://www.charlestoncon.com. For more of my costumes, visit http://facebook.com/shelbeaniecosplay. Hope to see you guys soon!


